Later this Summer I shall be commissioning a group of facsimile Bronze Age tools – axe and adze heads, gouges and chisels. I’ve done a little bit of copper alloy casting but can boast neither the skills nor the equipment to produce a suite of mid- to late-Bronze Age artefacts. Not of high enough quality, anyway. As well as thinking about exactly which tools I require, I shall also have to plan their hafting. This has led me to look at some of the axes in my tool kit and our local Young Archaeologists’ Club handling box, because there is such a range of axe shapes and styles throughout prehistory and history.
One of the longest-lived tool types, hominids older than Homo sapiens were knapping stone chopping tools and axes. Also known as bifaces, because they are knapped from both sides to make cutting edges and thus have two faces, stone hand axes are the characteristic object of deep human prehistory. There are some fabulous examples in the Museum of London’s collections – take a look at this example from Richmond Lock, this from Yiewsley, and this from Swanscombe. These date from hundreds of thousands of years ago. My little review is by no means a comprehensive study of the development of the axe; I’m just curious about some of the observations prompted by looking at a group of axe heads.
This slideshow requires JavaScript.
The Palaeolithic hand axe in my selection was knapped by Karl Lee a few years ago during a Young Archaeologists’ Club meeting. Karl also knapped me the Neolithic axe head. The Bronze Age axe head was cast by Neil Burridge, also for a Young Archaeologists’ Club activity. I bought the steel axe head from a bric-a-brac shop in Marlborough many years ago.
A number of differences are immediately obvious. Two of the objects are made of flint, two of metal. The shapes are very different and they vary in size, colour and texture. Something about the relative ages of these objects is suggested in the names I have used to label them. Now consider those varied shapes, and the subtle difference between my description “hand axe” and “axe head” – how would you go about making use of these objects?
This slideshow requires JavaScript.
“Palaeolithic hand axe”: an Old Stone Age tool made for use in the hand. That is, no handle. Odd when you think about it. The sharp edge created by the opposing flake scars on each side goes all the way around the thin, oval-shaped tool. Wouldn’t you be just as likely to cut your palm as the material that you were cutting with the axe? Would you be more likely to cut down a tree, or cut your fingers off? So…what else might you have had to make this tool work for you; and what do you do with an “axe” anyway?
There are plenty of things you can do and use to protect your hand, so let’s set to one side prehistoric leather production and focus on what we mean by the word “axe”. There is no evidence that hand axes were hafted (although that hasn’t stopped some people trying!). They are generally thought to have been used for a variety of tasks, especially butchery. Thin, flat, oval-shaped hand axes, like this one, were perhaps not used as chopping tools at all – but were more like knives (Butler 2005, 2008:64). They certainly do slice through flesh very well and I especially like this tool type for skinning. Not tree felling.
This slideshow requires JavaScript.
“Neolithic axe head”: a New Stone Age tool made for use in a handle. Now it’s not that this axe head can’t be used in hand to cut through a range of materials; but I’m sure you would agree that it looks a lot more axe-y than the hand axe. The opposing flake scars run all the way around the tool just like the hand axe, it’s certainly sharp enough all the way round for every edge to be used for something. The main cutting edge, however, the bit, is at the broader end, whilst the narrower butt allows the axe head to be let into a wooden handle.
The narrower, longer Neolithic tool doesn’t feel so comfortable in hand, although I can slice with it. It’s just not meant to work that way. A few Neolithic axe heads have been found with their handles, like the one recovered from the beach at Port Talbot in 1970 (Savory 1971) and the Ehenside Tarn axe. The glossy, dark flint of the hand axe contrasts strongly with the light grey. The grey seems duller, less responsive to the sunlight – but then this axe head has not been ground and polished. A characteristic of many (but not all) Neolithic axe heads is their silky-smooth, dazzling surface once the knapping traces have been ground away.
This slideshow requires JavaScript.
“Bronze Age axe head”: a Bronze Age tool made for use in a handle. For the first time we have a unique cutting edge – only the bit of this axe head is capable of cutting (although it’s not sharpened, this is used in the Archaeology Club handling collection). It is the smallest axe head in this selection, almost but not quite symmetrical, and by far the thinnest overall.
Now there is a huge range of shapes, sizes and hafting methods for Bronze Age axe and adze heads. I refer in the same breath to what in a modern age are distinct tool types (“axe”, “adze”) because it is entirely possible that many of the Bronze Age tools called axes were set horizontally – even used both ways, as either axe or adze, at different times. You can see this in action in the toolset used to build Morgawr, the Bronze Age-type sewn plank boat recently built by the University of Exeter and National Maritime Museum (Van de Noort et al 2014).
This copper-alloy axe head is an example of an early Bronze Age Arreton type, with my punched decoration inspired by the Bush Barrow mace. You can see the casting scar along its edge left by the two-piece mould. The slight flanges – the raised sides – suggest that axe heads like this should be hafted in a “shoe”. That is, not pushed through a hole in a handle, but slotted between two prongs which extend at an angle from the handle, like the example excavated from Palaeochannel 1 at Peterstone Great Wharf (Bell 2013), and bound up with maybe raw-hide or a leather strip.
This slideshow requires JavaScript.
“Kent pattern axe”: a steel axe head made for use on a handle. Hafting technology has changed again; now the axe head has a socket (the “eye”) into which a wooden handle fits. The axe head has a broad and thin bit, rounded shoulders, lugs either side of the socket, and the butt is really a poll. The poll has a flat surface that can be struck, to exert additional force, without too much risk of damaging the axe head – unlike the butts of the three previous examples.
Edit: whilst the poll can be struck, the primary purpose of this extra mass of metal behind the handle is to balance the weight of the blade in front of the handle.
The many regional variations of axe head shape common until the end of the nineteenth-century were often named by counties. The Kent pattern itself included variations such as the Banbury Axe, Guildford Axe, Mahogony Axe, Manchester Axe, Norfolk Axe, Plymouth Axe, Suffolk Axe (Salaman 1975:58). Although you’d be hard-pressed to distinguish between some of these.
And at last, a maker. Had my first three axe heads been prehistoric, archaeological examples, I could not have told you who knapped or cast them. But the Kent pattern axe head was forged by the Eagle Edge Tool Company, whose foundry was at Monmore Green, Wolverhampton.

stone, bronze, iron
These four axe heads are also stand-ins for the Three Age System – stone, bronze, iron – which has been used by archaeologists to divide [prehistoric] time in technological terms since the system was drawn together in Scandinavia in the nineteenth-century. Is the Iron Age over?*
Bell, M. (2013) The Bronze Age in the Severn Estuary York: Council for British Archaeology
Butler, C. (2005, 2008) Prehistoric Flintwork Stroud: The History Press
Salamon, R.A. (1975) Dictionary of Tools used in the woodworking and allied trades c.1700-1970 London: George Allen and Unwin
Savory, H.N. (1971) “A Neolithic Stone Axe and Wooden Handle from Port Talbot” The Antiquaries Journal 51/2:296-7
Van de Noort, R., Cumby, B., Blue, L., Harding, A., Hurcombe, L., Hansen, T. M., Wetherelt, A., Wittamore, J. and Wyke, A. (2014), Morgawr: an experimental Bronze Age-type sewn-plank craft based on the Ferriby boats. International Journal of Nautical Archaeology. doi: 10.1111/1095-9270.12058
*not in my workshop…


![[1] a piece of ash.](https://artefactual.co.uk/wp-content/uploads/2014/04/ash-billet-201404_01.jpg?w=150)
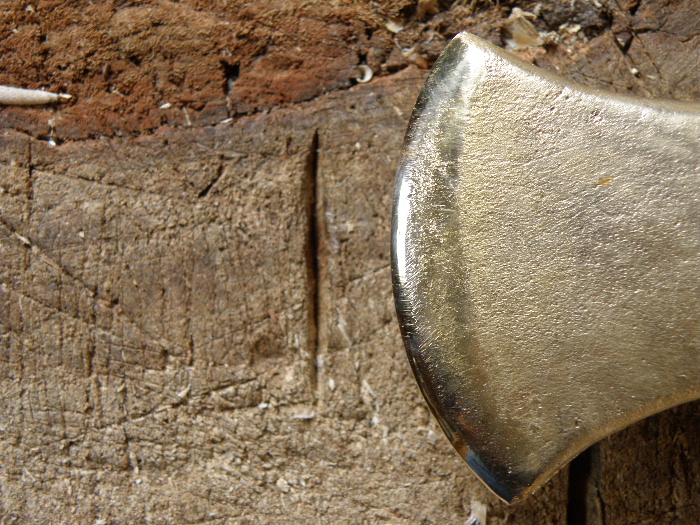
![[2] the first cuts along an edge, cutting the fibres so that chips can then be removed using a long, slicing action from top to bottom.](https://artefactual.co.uk/wp-content/uploads/2014/04/ash-billet-201404_02.jpg?w=112)
![[3] the ash billet and chips removed from all four edges.](https://artefactual.co.uk/wp-content/uploads/2014/04/ash-billet-201404_07.jpg?w=97)
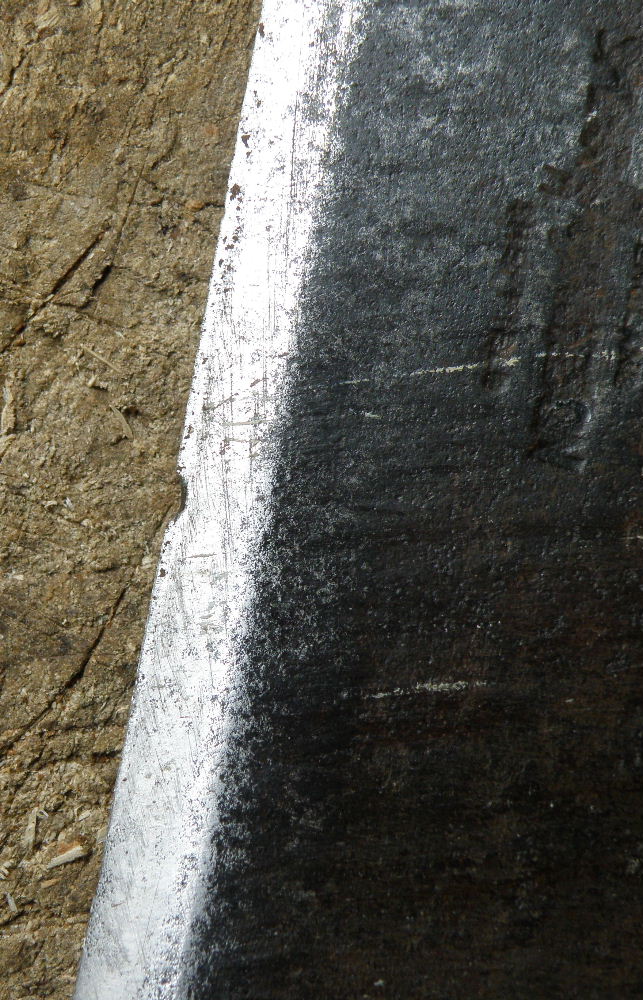
![[4] each edge is left with two types of toolmark: the first is the remains of the bottom of cuts made in [2], cutting into the wood and through the fibres; the second is left by the longer, slicing cuts running parallel with the billet.](https://artefactual.co.uk/wp-content/uploads/2014/04/ash-billet-201404_06.jpg?w=150)
![[5] mostly the long, slicing cuts down the edges finish cleanly, but sometimes the wood fibres at the end of the billet tear-out before the cut can slice all the way. This leaves a characteristic difference between the smooth, cut surface and the rough, torn surface.](https://artefactual.co.uk/wp-content/uploads/2014/04/ash-billet-201404_08.jpg?w=150)
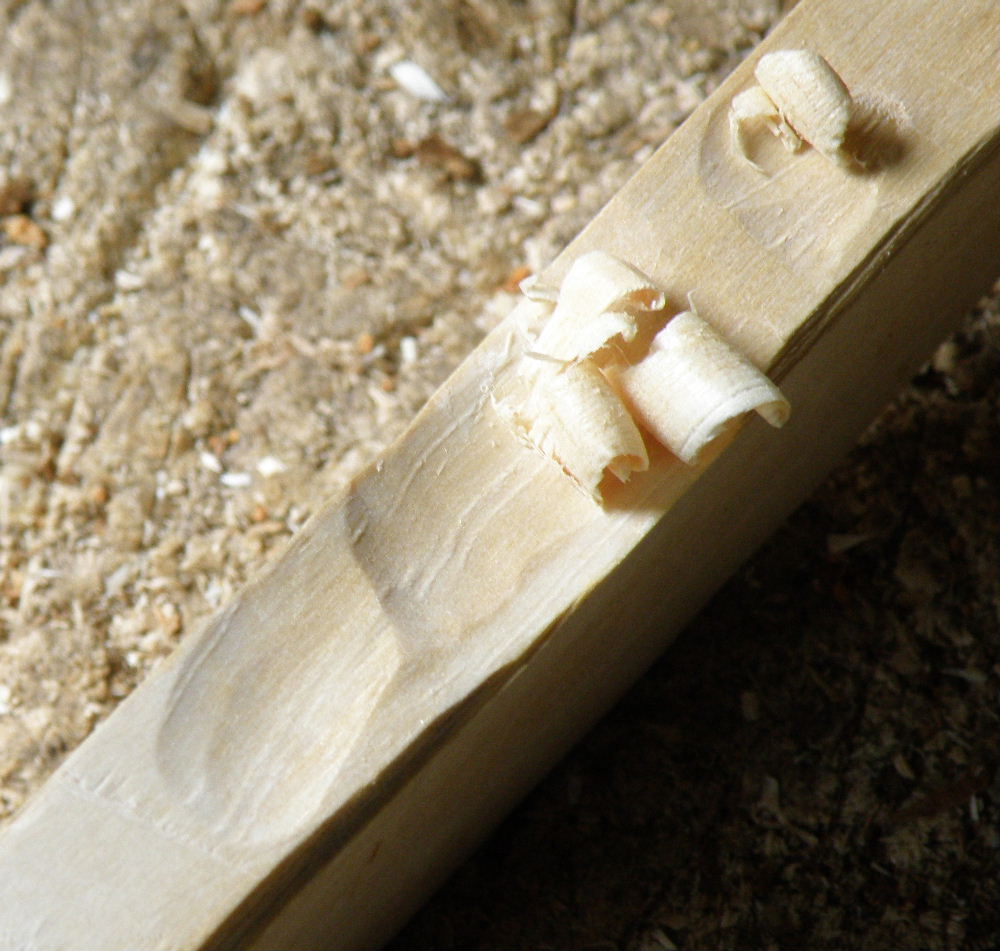
![[6] an axe can be used to shave (lower, curled wood chip) as well as to cut (upper, sliced wood chip).](https://artefactual.co.uk/wp-content/uploads/2014/04/ash-billet-201404_09.jpg?w=150)
![[7] shaving the billet with the axe starts to remove the angled edges.](https://artefactual.co.uk/wp-content/uploads/2014/04/ash-billet-201404_10.jpg?w=92)
![[8] but the billet won't really become rounded until it is further shaped with a drawknife.](https://artefactual.co.uk/wp-content/uploads/2014/04/ash-billet-201404_11.jpg?w=144)

![[10] even though the drawknife is broad and wide, it is an effective tool to remove the worst of the billet's angular edges.](https://artefactual.co.uk/wp-content/uploads/2014/04/ash-billet-201404_12.jpg?w=83)
![[11] but it's not until the billet is turned that it becomes truly rounded. The toolmarks now are all perpendicular to the length of the billet, as it is cut with a chisel using the rotary motion of a pole lathe.](https://artefactual.co.uk/wp-content/uploads/2014/04/ash-billet-201404_14.jpg?w=150)